Are you fiddling on your first MacBook but can’t seem to find where is the pictures folder? So, you have found Photo Booth and taken a photo, probably made yourself look like an alien or have bug eyes in the effects, but what next?
Where do you find all of your pictures on Mac? And where is the Pictures Folder?
The Desktop Folder, Downloads, and Documents all appear in the sidebar of Finder, but not Pictures.
Before you get to know where is pictures folder on Mac, let’s explore our photos and where they go.
Table of Contents
Where is the pictures folder on a MacBook?
This actually depends on your settings. If you are downloading images from the internet, they will go to the location that you have selected.
If you open Preferences in Safari, you can change where your downloaded images go by selecting “File Download Location”.

When you take photos from Photo Booth, they are stored in a Photo Booth Library, which is slightly trickier to search for manually:
- From Finder, click Macintosh HD;
- Users;
- Your user name;
- Pictures;
- Photo Booth Library;
- And finally pictures again.

If you have an iCloud account or another cloud account, you can also choose the location where you want your photos to appear.
When you select any photo from your cloud account and select “Download”, the photo will automatically open in Preview. Here, you can choose to rename it and the location where you want to store it.

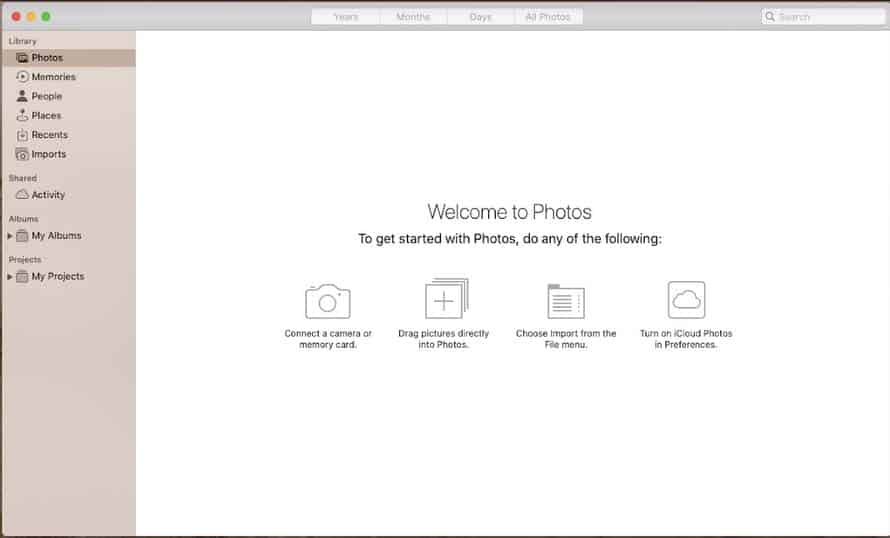
When you want to upload images from a camera, you will need to use the Photos app. The photos app is very straightforward to operate.
You can follow the prompts to import images or drag and drop them from other locations. You can also sync Photos with your iCloud account.

Needless to say, you don’t want to have to open 5 different folders every time you want to want to access your photos, so it is easier to add your Pictures folder to the sidebar of your Finder Window.
How can I quickly find the My Pictures folder on Mac?
One of the quickest ways is to open the spotlight search in the top right-hand corner of the screen. Type in pictures and double-click on the folder.
This is a good solution for not-so-regular users. Another way is to add the Pictures to your sidebar. There are two ways you can do it.
The first method is to manually search for the Pictures folder and drag and drop it into the sidebar:
- Click anywhere on your screen so that Finder appears at the top left-hand side;
- Choose File and select the first option “New Folder Window”;
- Once your new window is opened, type “Pictures Folder” into the search box.

All of a sudden you will go from finding no Picture Folders to finding several. Make sure to select the Folder that has the camera on the front.
You can now drag this folder to the left-hand side in the position you prefer (i.e. between Desktop and Documents).
The other way to add the Pictures Folder to your Finder sidebar is to Click on the “Preferences” in Finder.
There are four tabs on the top, select “Sidebar”. You can select any folder you want to appear in and unselect those that you don’t.

For even faster access, you can keep your Picture Folder in the Dock at the bottom of the screen.
From the New Finder Window, once you have searched for the Picture Folder, drag and drop it next to your bin.

None of these options is permanent, so to remove the Pictures Folder from your sidebar, you can drag and drop it to a different location, or you can click on it and choose “Remove from Sidebar”.
To remove it from your Dock, click on the folder image and choose options, then “Remove from Dock”.
Wrap Up
It’s a bizarre thing with Mac, everything is so accessible and easy to find it doesn’t make sense that so many have difficulties finding the Pictures Folder.
The good news is that it takes just minutes to locate it and choose the best place on your MacBook for quick and easy access.
A word to the wise, before you start importing and downloading all of your photos, check the location where they will go in your settings.
It’s much faster to ensure they go straight to the folder you want rather than moving them all again later.
Check out some of our other awesome articles:

