

Have you been thinking about changing the looks of your operating system? In this article, we’ll teach you how to install fonts in Windows 10!
Having a pleasant experience using your computer has a lot to do with the visuals, amongst other features.
Sometimes, all it takes to improve what you have on the screen goes beyond colors, backgrounds, and themes; changing the default fonts might do the trick.
While Arial and Times New Roman are classic favorites, you just might want to spice things up on your Windows 10 PC on the fonts front.
You have tons of options when it comes to picking a font for your Windows 10 computer, depending on your mood, taste, personality, and occasion.
The great thing about Windows 10 is that you can also download new fonts and get rid of the ones you don’t want to use.
Table of Contents
How to install fonts in Windows 10
Let’s take an in-depth look into the process of installing fonts in Windows 10. Below, you can choose between two different methods:
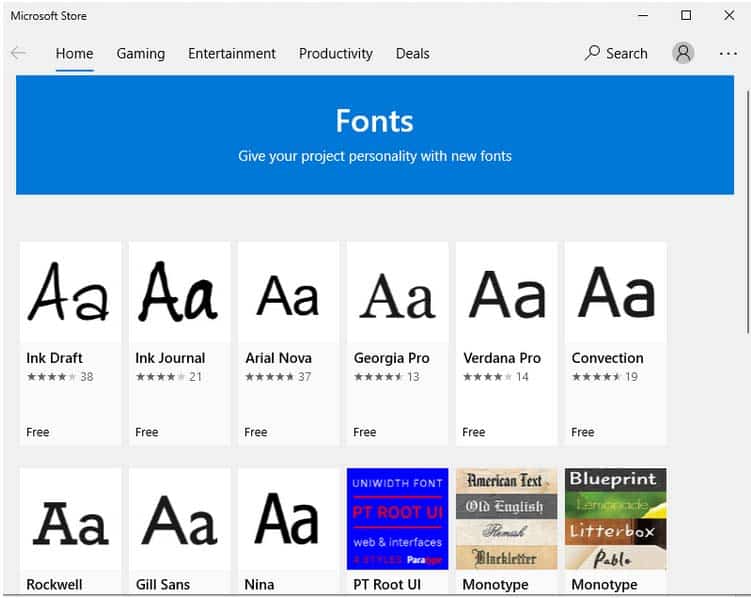
Download fonts from Microsoft Store
- Navigate to the search box in the taskbar and search for “Themes,” then press the Enter key;

- Click “Fonts” on the left pane of the screen tab and follow the link to “Get More Fonts“;

- Clicking on the link will direct you to the Microsoft Store, where you can check the available fonts and download the ones you want;
- After downloading your free font from the Microsoft Store, it will be automatically installed, and you can manage it from the font settings menu. You can also find the font file by going to “Control Panel“> “Appearance and Personalization“> “Fonts“;

- Open File Explorer and go to the fonts folder where the font file is saved, right-click on the file, and carry out any action from the ensuing menu options;
- The fonts that work with Windows 10 should be in TrueType Font (.ttf) or OpenType Font (.otf) formats.
Install fonts using the drag and drop method
If you want a more direct and manual hands-on approach, the manual method of installing a font on your Windows 10 computer is the drag-and-drop method.
For this to happen, you need to open two windows and follow the instructions below:
- Navigate to the search box in the taskbar and search for “Themes” then press the Enter key;

- Click “Fonts” on the left pane of the screen tab and follow the link to “Get More Fonts“;

- Clicking the link will launch the Microsoft Store automatically, where you can download the fonts you want like what you would do with any other app;

- After downloading your font from the Microsoft Store, it will be automatically installed, and you can manage it from the font settings menu. You can also find the font file by going to “Control Panel“> “Appearance and Personalization“> “Fonts“;

- Hover on the search box and type “Control Panel” using your keyboard. Open the top result;
- Once you open Control Panel, go to “Appearance and Personalization” and click on “Fonts“;
- Once the font library loads fully, drag the new font from the download destination;
- You will see a small progress bar showing as the font is brought installed. Once the progress is complete, you are ready to use your font on your Windows 10 PC.
Note: You can also drag and drop your new fonts using the settings menu.
- Open “Windows Settings” and go to “Personalization” and “Fonts“;
- Download new fonts from any Windows 10 fonts website and extract the font file to your desired folder;
- Drag your downloaded font files to the dotted rectangle under “Add Fonts“;

How to delete installed fonts
Uninstalling fonts is easy. Once you have your desired fonts, you are likely to have multiple fonts that you don’t need. It only makes sense to uninstall them. Below are the steps to delete those fonts you don’t need;
- Go to the Windows 10 search bar and type “Control Panel” on your keyboard;

- Click on “Appearance and Personalization” and then on “Fonts“;

- Go through your font list, select font file you want to delete, right-click and choose “Delete” from the ensuing menu;

- Confirm the deletion by clicking “Yes” when asked if you really want to delete the font.

Wrap Up
Now that you know you don’t have to live just with the pre-installed fonts, we hope the steps we’ve given have helped you install new fonts on your computer.
We also hope you now know some new ways to manage your system fonts in the most effective way.
Are you aware of other ways to install fonts on your Windows 10 PC? Do tell us in the comments.
Check out some of our other awesome articles:
- Disabling touchscreen on a Windows 10 computer
- Creating a restore point in Windows 10. How to do it?
- How to protect a folder with a password in Windows 10?
- Remove a Microsoft account from Windows 10: how to do it?
- Changing the DNS in Windows 10
- How can I flush DNS in Windows 10?
- Finding and changing IP address in Windows 10
- How can I clear the clipboard contents in Windows 10?
